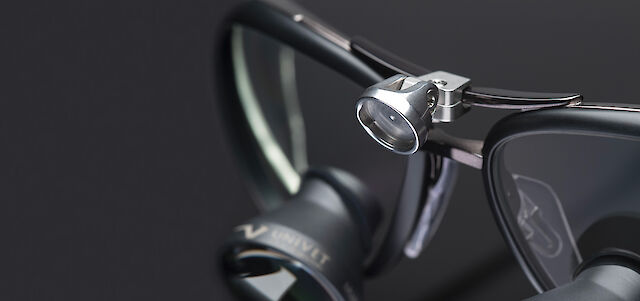
Custom magnetic
adapter
OPTIONAL
The magnetic adapter, specific for each loupes model, allows a quick and comfortable fixing of the headlight.
Loupes and light become an integrated system.
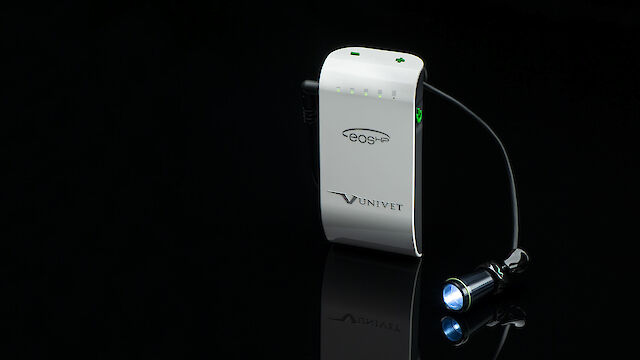


Hook the batteries to the charger. Connect the charger to the power supply via the USB cable. Connect the power supply to the adapter suitable for your power socket.
The charger is equipped with two slots for simultaneous charging of the two batteries included in the package. (The charging time of 90 minutes remains unchanged whether 1 or 2 batteries are connected to the charger).
While charging, the charge status indicators flash (A) and all remain lit when fully charged (B).


While using light pressure, hook the UV filter (included in the package) on the front of the LED.